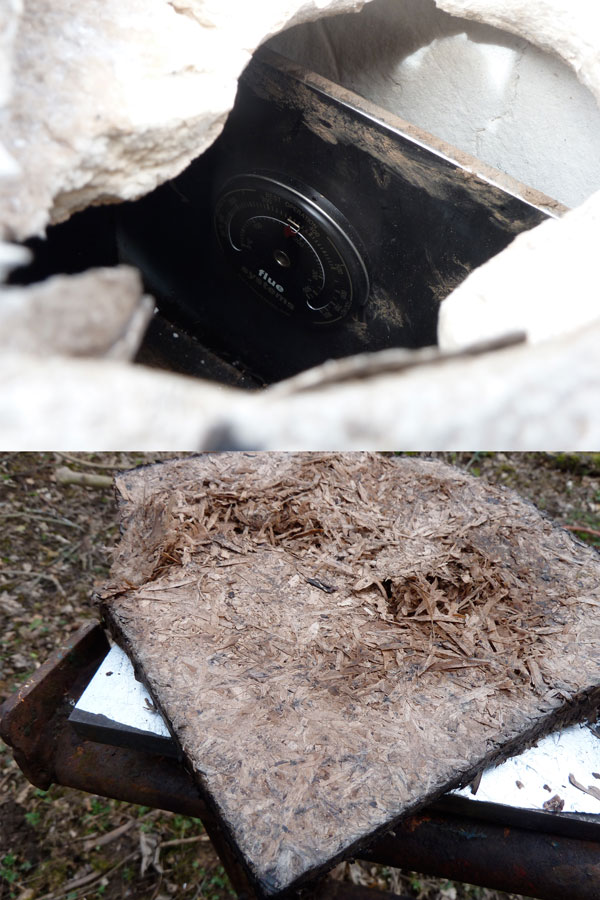
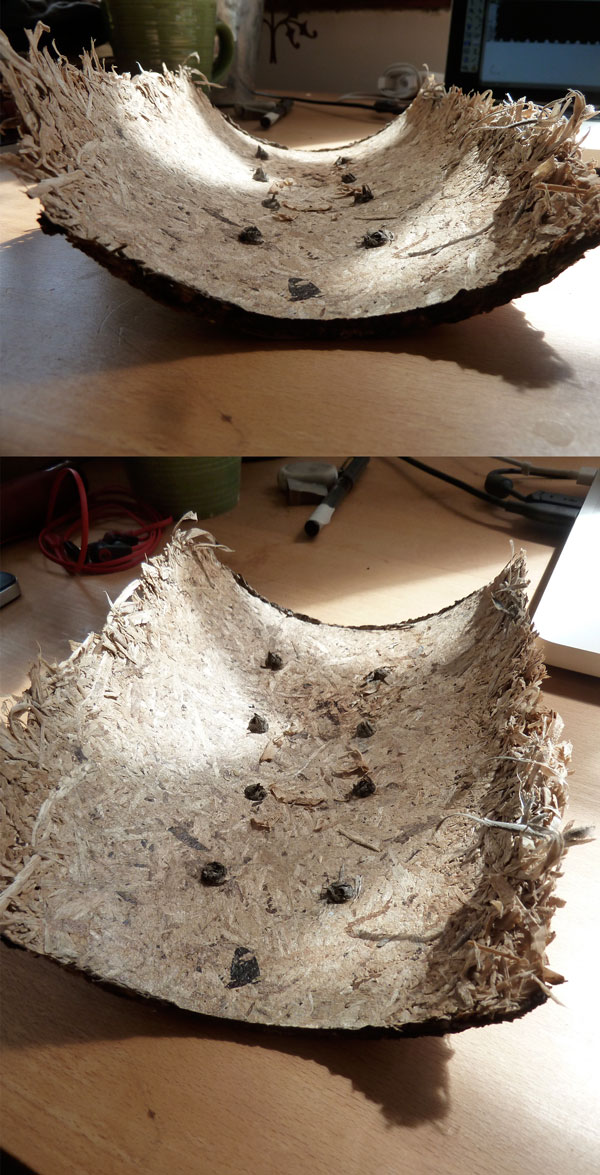
With the Woodland Laboratory and new compression jig set up I set to work tweaking the process again and again until I had worked out the exact formula to make my Lignin board. I needed to find out what wood available in the woodland would work best, if any. My experiments also needed to work out the best compression and drying process. There were certain controls in the set up that were not changed; 300g of green (fresh) chainsaw shavings of each wood type, 2.5 litres of cooking liquid and around 1 hour of cooking in a pressure cooker. In total there were 25 tests done with this set up, with each test something new was learnt or observed and the next test was tweaked accordingly, sometimes this even included the controls. Through this trail and error method I learnt about my material, its particular behaviours and fine tipping points of its process.
The early tests were fairly fragile and not at all strong. They stuck to the mould, came out damp, expanded once released, burnt, came out uneven or crumbed completely. Sometimes I thought I was wasting my time and it just wasn't possible.
I added foil to help release the samples from the mould. Measuring the shavings and making sure they were spread out evenly under the compression plate also made a huge difference.
I was using the blow torch onto the surface of the mould but with no insulation. I knew from the beginning that this wasn't at all efficient and was frustrated that all the heat was going out into the atmosphere. I also dreaded heating the mould with the bottle jack so close to the blowtorch. The mould was modified so two bars could be slipped through the mould to hold the pressure plate in place and the bottle jack removed so the whole mould can be placed in a kiln for heating.
Unfortunately it didn't work. It needs to have constant pressure applied throughout the process, especially as the water is forced out. I was also experiencing most of my samples coming out damp. I couldn't quite understand why parts of the sample were promising and bonding well and others just flaky shavings.
The tests continued. I stopped using potash, water seemed to work better. Oak, being very dense, was near impossible to get to vaguely work so I ditched it. Ash was the most consistent in postive results, but none were bonded evenly across the whole sample.

Then that ureka moment! Drilling holes into the top compression plate allowed the water to steam off easier. All those times when I openned up the mould and the sample expanded or felt damp, it was because the steam could not escape - so obvious!
The first sample with the modified mould was a great success. It was dry, solid and strong with very little flex. I was able to cut it with the bandsaw. Once I had continuously made simular samples, all in Ash, I got their strength tested.

I owe a huge amount of graditude to Paul Burke, Civil Engineer Imperial College and fellow honourary Cumbrian. Paul is incredibly knowledgable in sustainable energy and policies. Many a tea break have we discussed the various alternative energies available or being developed. Thankfully, he completely understood where I was coming from on this quest to find a relevant use for coppiced wood and was never too slow to remind me how worthwhile it is.
Besides bigging up my lagging confidence, he very kindly helped to test the stress point of my samples to see how strong they are, especially in comparison to existing OSB products.
My Just Wood material has the stress point of 9N per mm. That's 1/3rd of the strength of the same thickness OSB! Not bad for a few handfuls of chainsaw shavings.
With my process and material perfected it was time to take the next step - moulding forms!