With the rough shape constructed, the overall form and flowing lines I had envisioned needed to be worked into the wood. Firstly, the rounded edges of the sides were a doddle with the use of a router, a little bit of spoke shaving and plenty of sanding.Small rails were made with through-tenons to help break up the look of the structural joint of the side. Through-tenons are also a wink to the Arts and Crafts ethos of deliberately exposed construction to demonstrate the piece is handmade. This is something I have noted local furniture manufacturers still do here in Sweden. (I'm on a wee trip away) Carefully housing the seat into the sides means it behaves structural and minimises any necessary dowelled joints that might distract from the flowing form.

Right, the main part of the chair is pretty much there. Next, the exciting carving the general shape of the arms and back rest. To make sure both arms matched, it was vital that each major shape change was done at the same time on each side. Using 4 different sized chisels along the changing grain directions and a lot of rough grit sand paper the shape smoothed out slowly but surely. I have to say, the freedom of this process was a lot of fun.


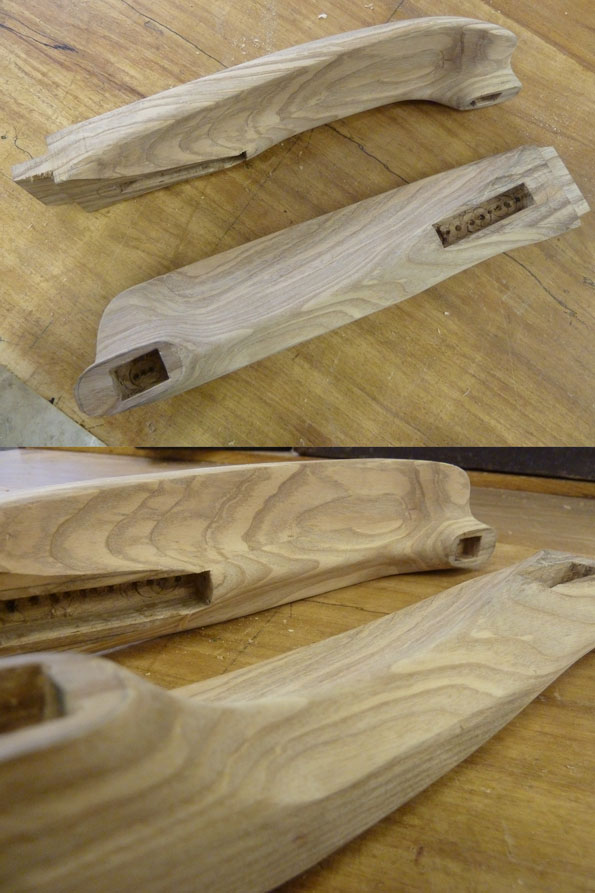
Here it is, the arms and the sides. Where they meet, the joints will smoothly blend into each other, however that can only be done once it's glued up.
