Following on from February (sorry!).... With the Octagon legs and shelves fitted nicely together, next was marking up and cutting out the housing for each leg to the thick top.
To hide the TV wires from the front elevation the back panel is set forward a smidge with the intention that its edge would match vertical slats to be installed later - keeping an open and light weight appearance and not so boxed in.
This back panel, in two parts, really needed to be lined up bang-on, so marking out the housing on both shelves and the top perfectly was really important. The panels were left extra long for trimming to the shelf line-up further down the line.
The spacing between the legs was divided up evenly for the slat mortises which were marked up and then cut by hand. As the legs, and therefore the shelf edges are on a slight angle the top part of the mortise went a little further. The middle surface of the mortise, within the thickness of the shelves, was hollowed out a millimetre or so to allow clearance for the slats. The timber will shrink over time so to minimise the slat joints opening up the sides of the mortise was kept as tight as possible.
Selecting the best grain and marks to be visible from the side, the slats were tapped into place. To keep the joins neat the slats were left protruding beyond the shelf edge. Once fitted the slats were coded, they will be fitted to the rest of the cabinet from their allocated position. Smaller slats were added to cover up the edges of the back panels - disguising them as a slat.
While in a dry fit the under side of the top was marked out were the slats meet. Using the router to remove most of the material, the joints were finished up and cleaned up by hand. My chisels had just been serviced so I was loving getting the edges and corner as sharp and square as it would let me.
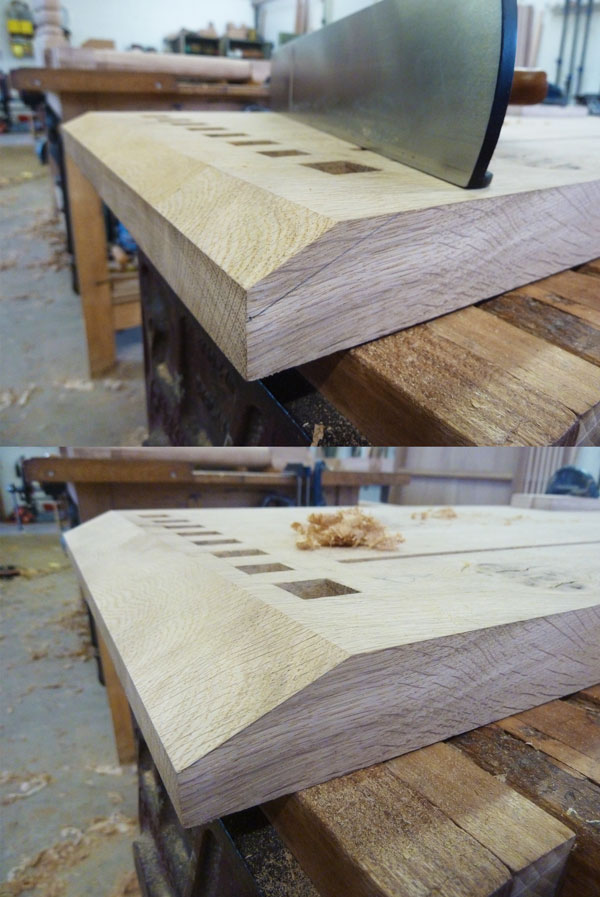
Two long, shallow Mackintosh-esque chamfers were added to the under side of the top with a hand plane.
Having played with many different designs for the plug holes, decision making was getting tested - sometimes over thinking things doesn't lead to much. Going from the dimensions of the British electrical plug, I wanted to create a shape that gave interest, breaking up the rest of the lines of the console. Referring back to my library of Arts and Crafts images, this shape was borrowed as it would allow the wires to fall to a central place.
Once sanded through numerous grits and oiled with Danish oil the English Oak really deepened to a lovely rich colour. Getting in between each slat with an oily rag was slow but the overall scheme came together well.


